

Installing Demo Data
Before importing our demo content, please make sure that you have installed and activated all our required plugins (and WooCommerce if you intend to use it).
The best practice is to start with fresh WordPress installation without previous content. Delete default page and post that come with installation of WP, as well as WooCommerce pages that import once you activate the plugin. Also delete default Contact form, and any existing media items.
If you have already added a new content, please make sure to do the backup in order to save that content. After the backup, delete all content and you can start with the next steps:
The procedure is as follows:
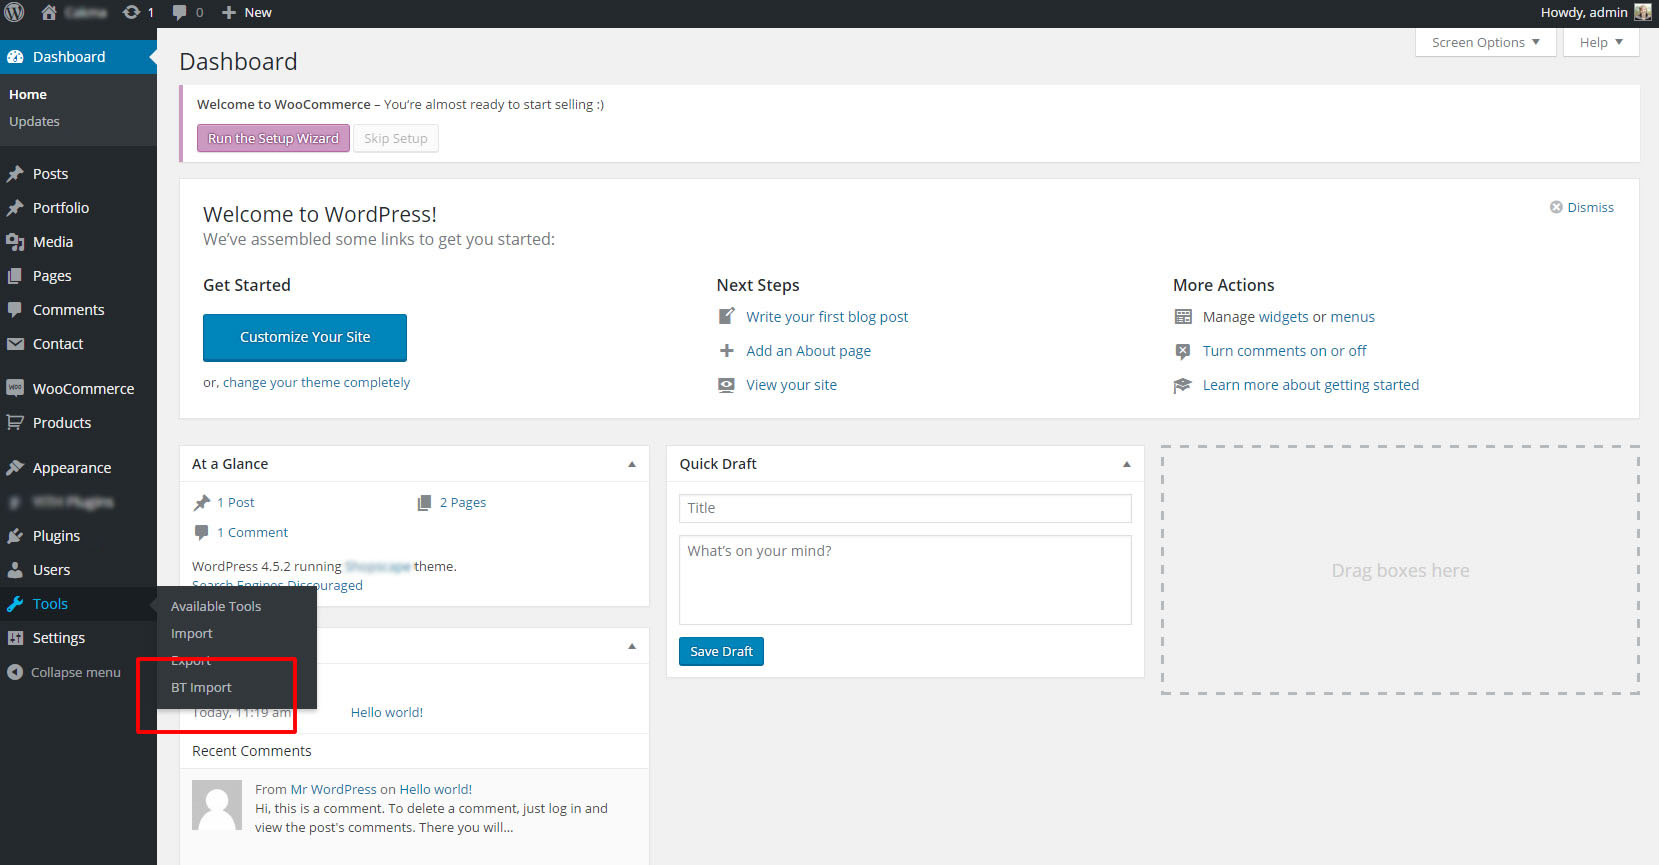
- Login to the wp-admin panel
- Go to Tools > BT Import
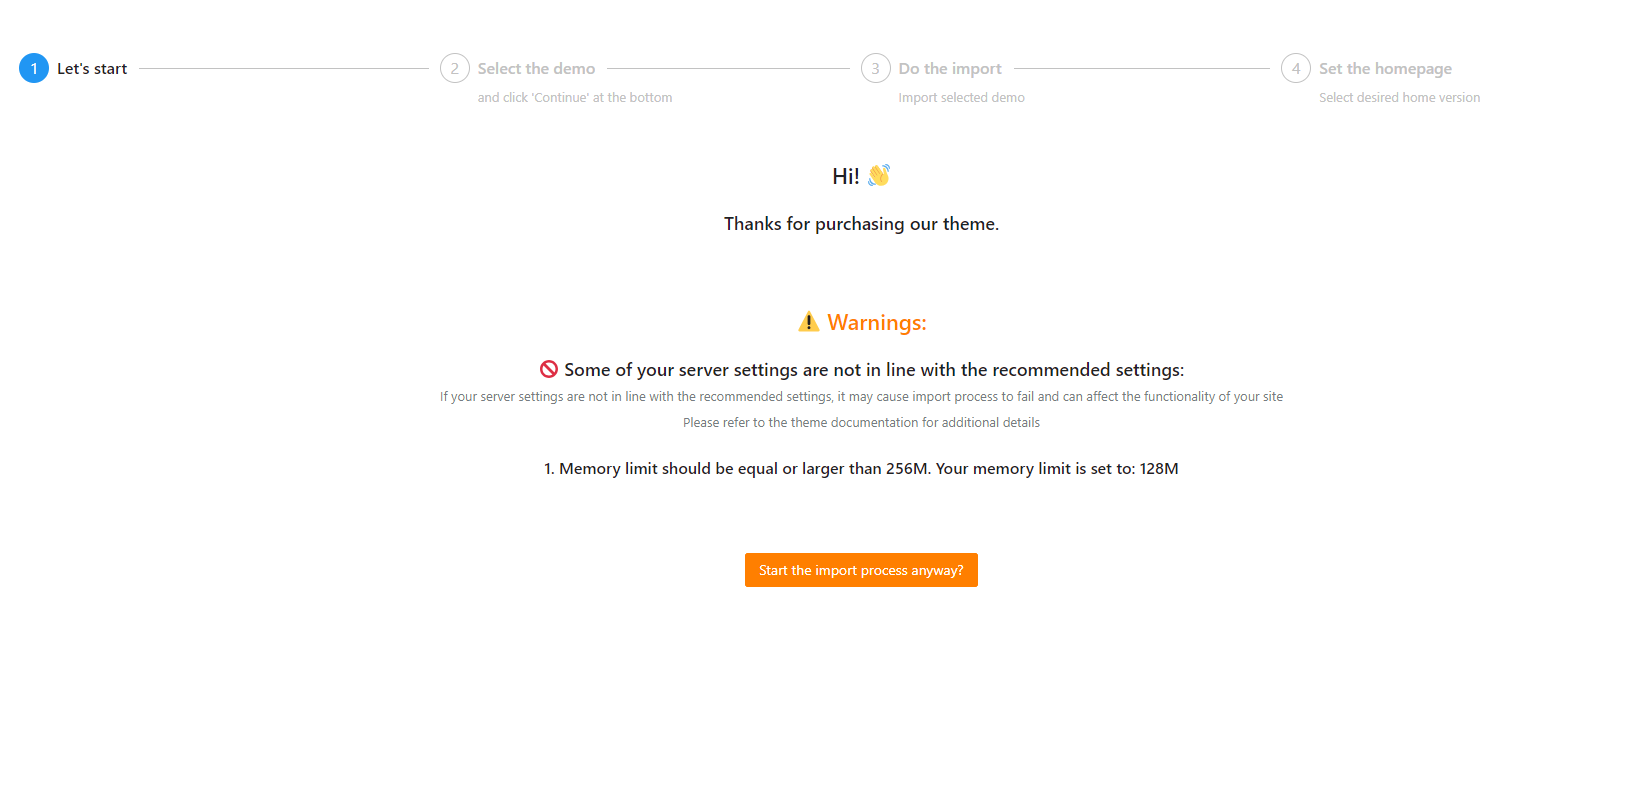
3. The first step of import process is to, once again, check your server settings. On this screen you will see if you have enough memory and script timeout, and if your PHP version is up to date.
Additionally, you will get a notification if you have previously installed our demo content.
Once you adjust all the settings, click ‘Start the import process’ button.
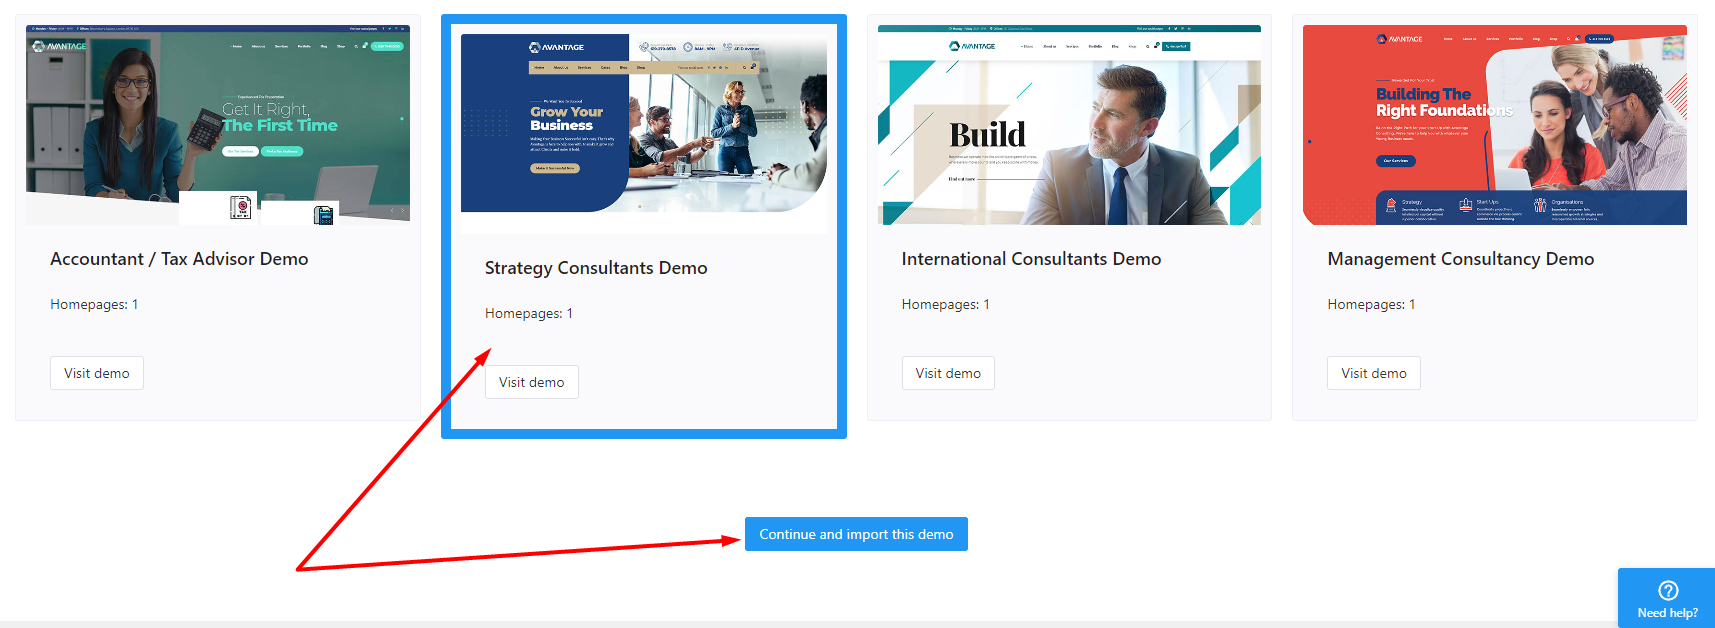
4. On the next panel you will see available demos. The number of homepages for each demo is noted, and you can click on the button ‘Visit demo’, and see how each demo looks.
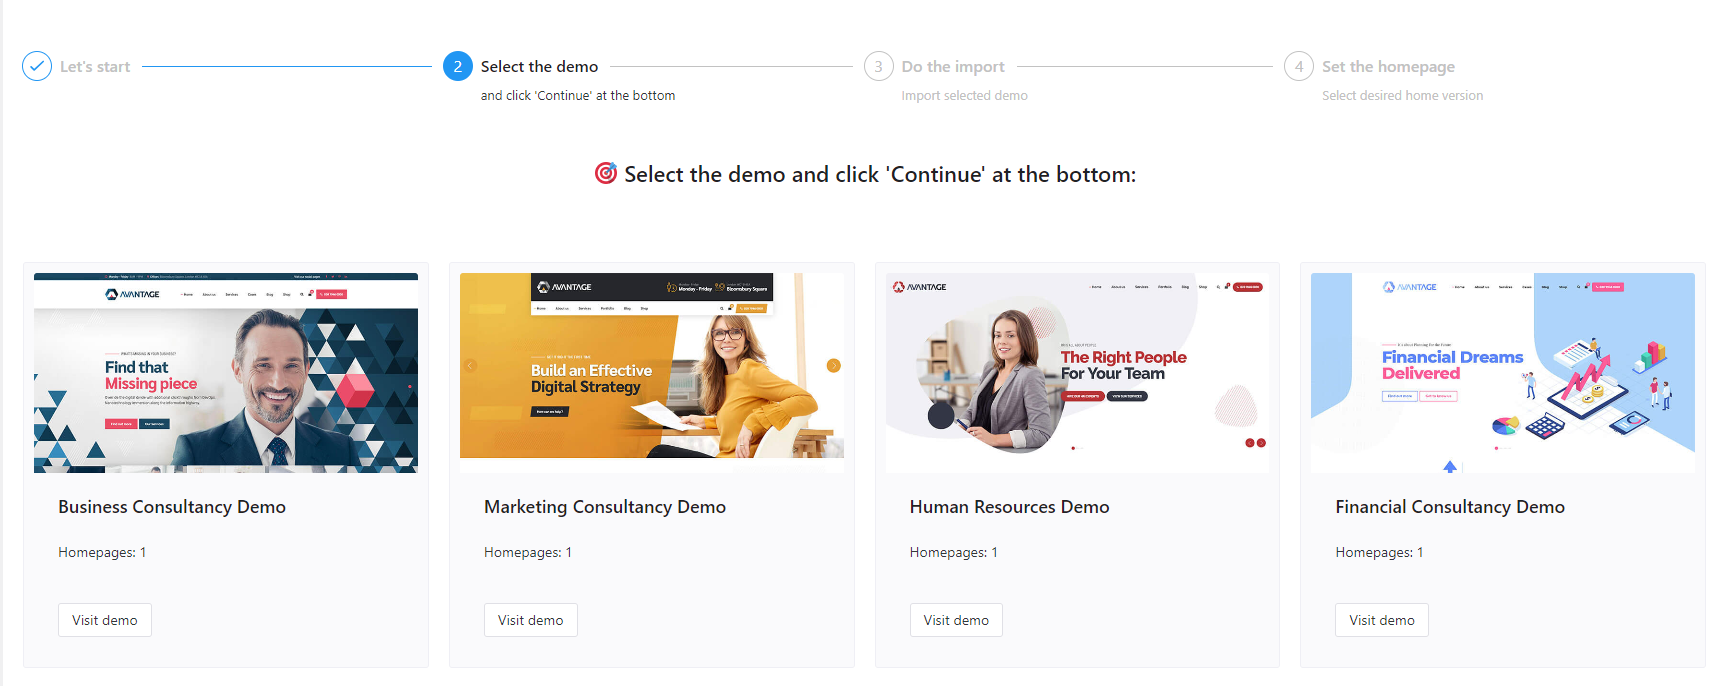
Click on the demo you want to install, and then click on ‘Continue and import this demo’ button at the bottom of the screen.
5. The following step is to select images’ download method.
Here is how each option works:
- First option, ‘Download images to your server and create all thumbnails‘, is the best option and the one we recommend.
However, for this option all server requirements need to be met. Additionally, make sure that curl library is available and enabled.
2. Second option, ‘Download images to your server but do not create thumbnails‘, will still download images to your server, but will not create necessary thumbnails (to speed up the import process).
If you are going to use this method, install and activate ‘Regenerate Thumbnails’ plugin, and once the demo import is finished, regenerate thumbnails for all images.
3. Last option, ‘Use images hosted on our servers‘, will import demo the fastest, but the images will remain on our server.
What this means is that you need to keep BT WordPress Importer plugin active until you replace our images with yours. If you deactivate the plugin, the images will not be visible.
Once you finish with demo import and setting the homepage, you will be able to download the images from our server (refer to the additional step below).
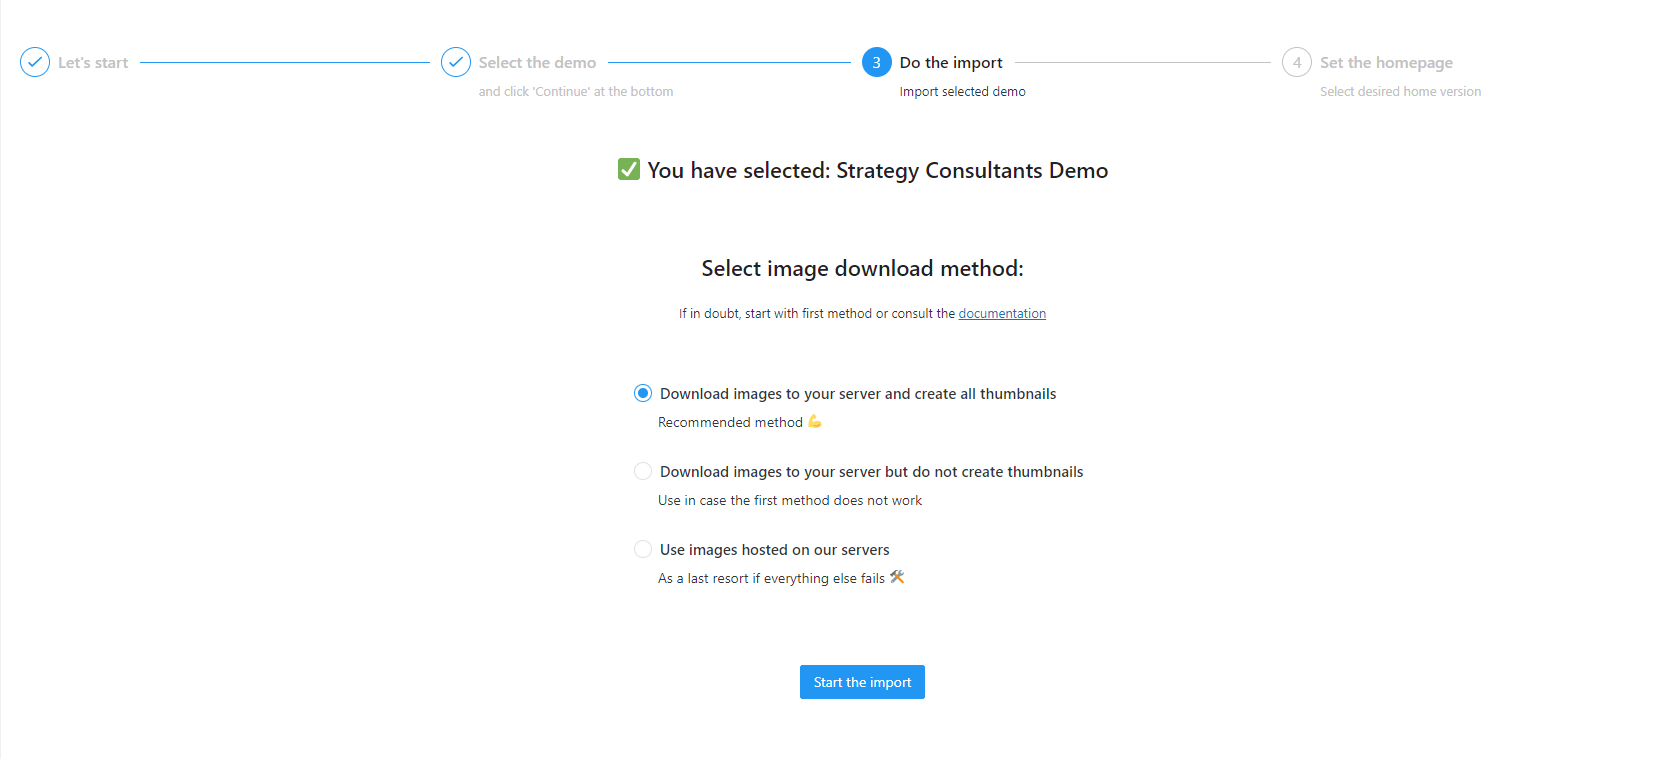
Once you select images’ import method, click on the ‘Start the import’ button.
Depending on your server environment, and previously selected import method, the demo import process might take some time. Please be patient and don’t exit the import panel, otherwise you will stop the import.
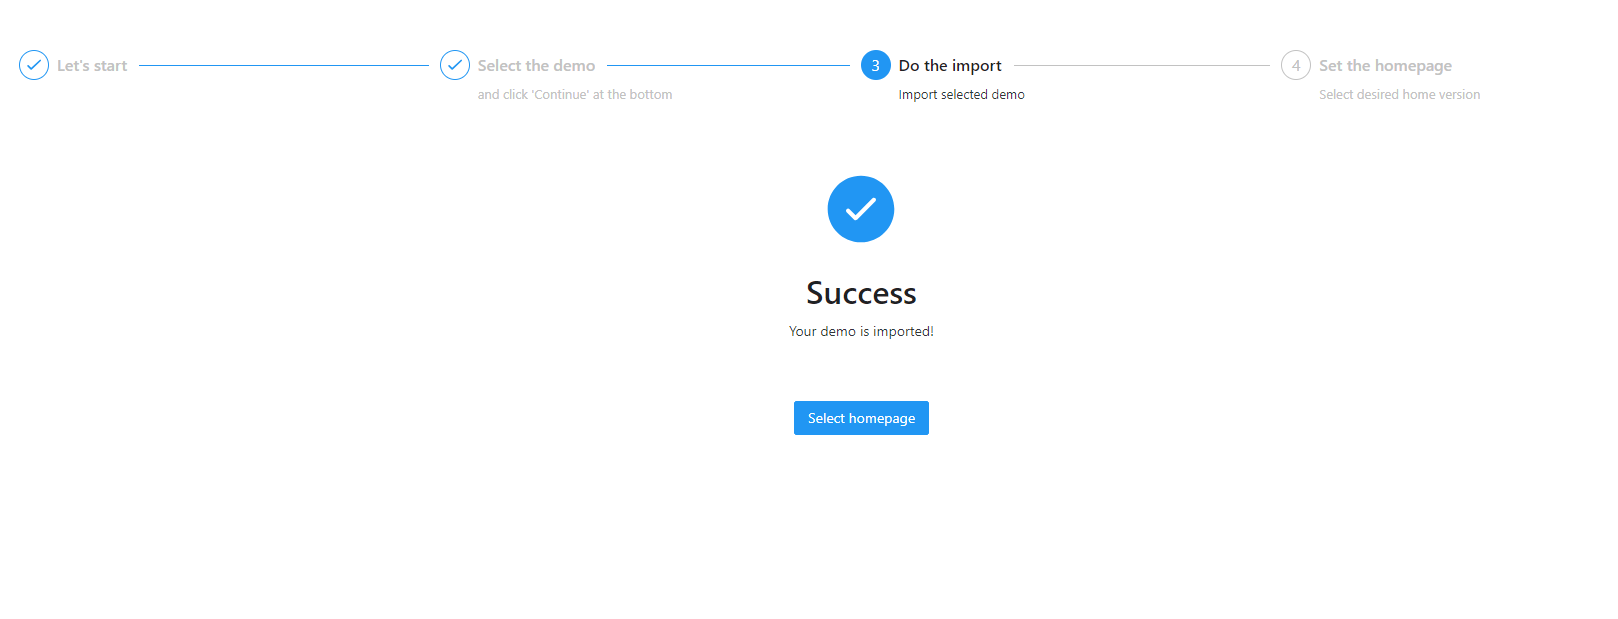
When the import is finished, you will see the following screen. Click on ‘Select homepage’ button.
6. The last step is to select the homepage. Please note that some demos have multiple homepages, and some only one.
If demo has multiple homepages, you can click on ‘Visit homepage’ button and see how each individual page looks. Once you select desired homepage, click on it, and then on ‘Set this homepage’ button.
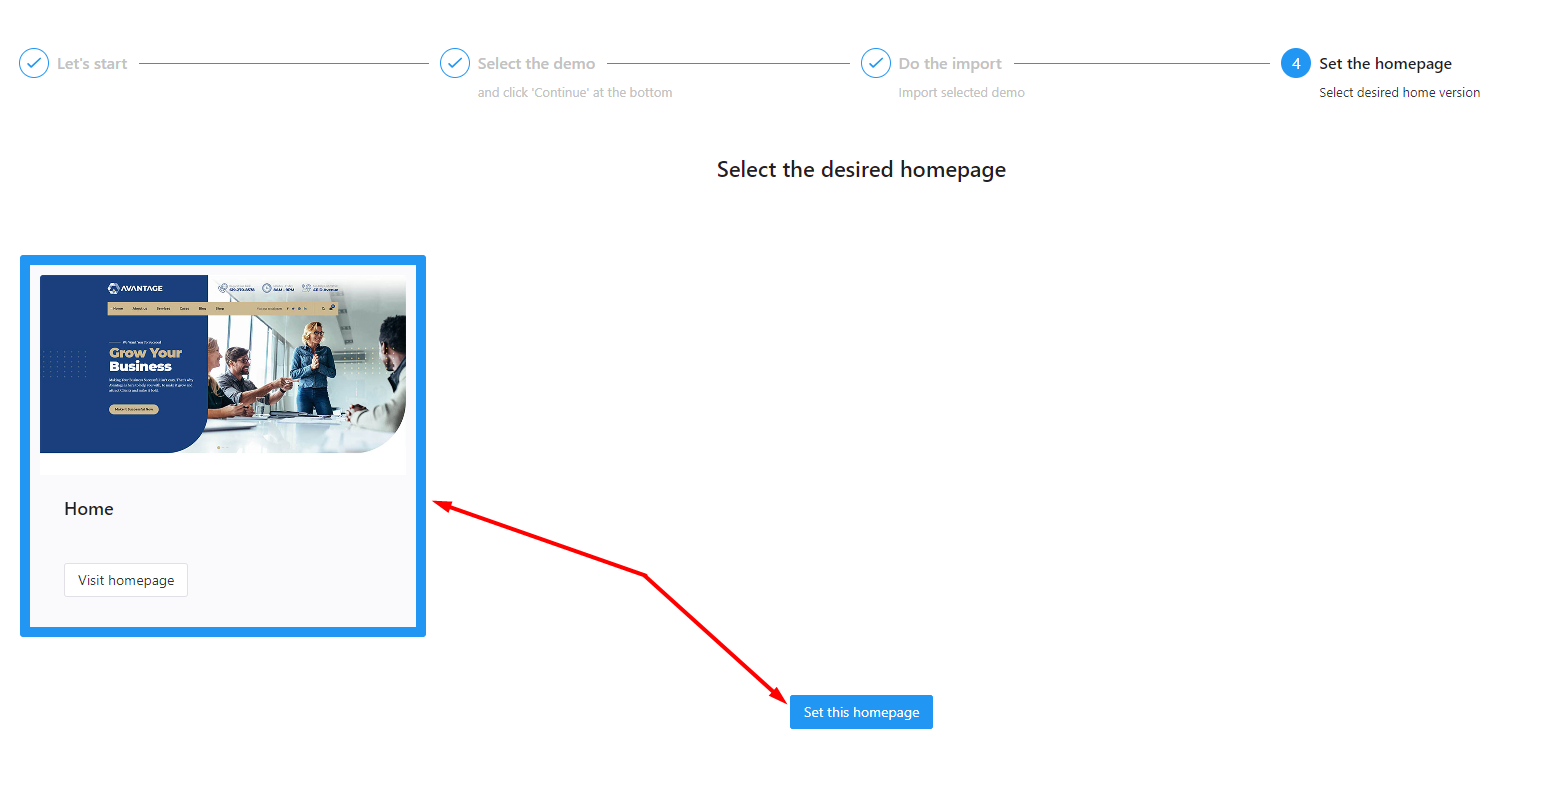
Once the homepage is selected, its settings (accent colors, fonts, footer, etc.) will be set in Customize panel and applied to inner pages.
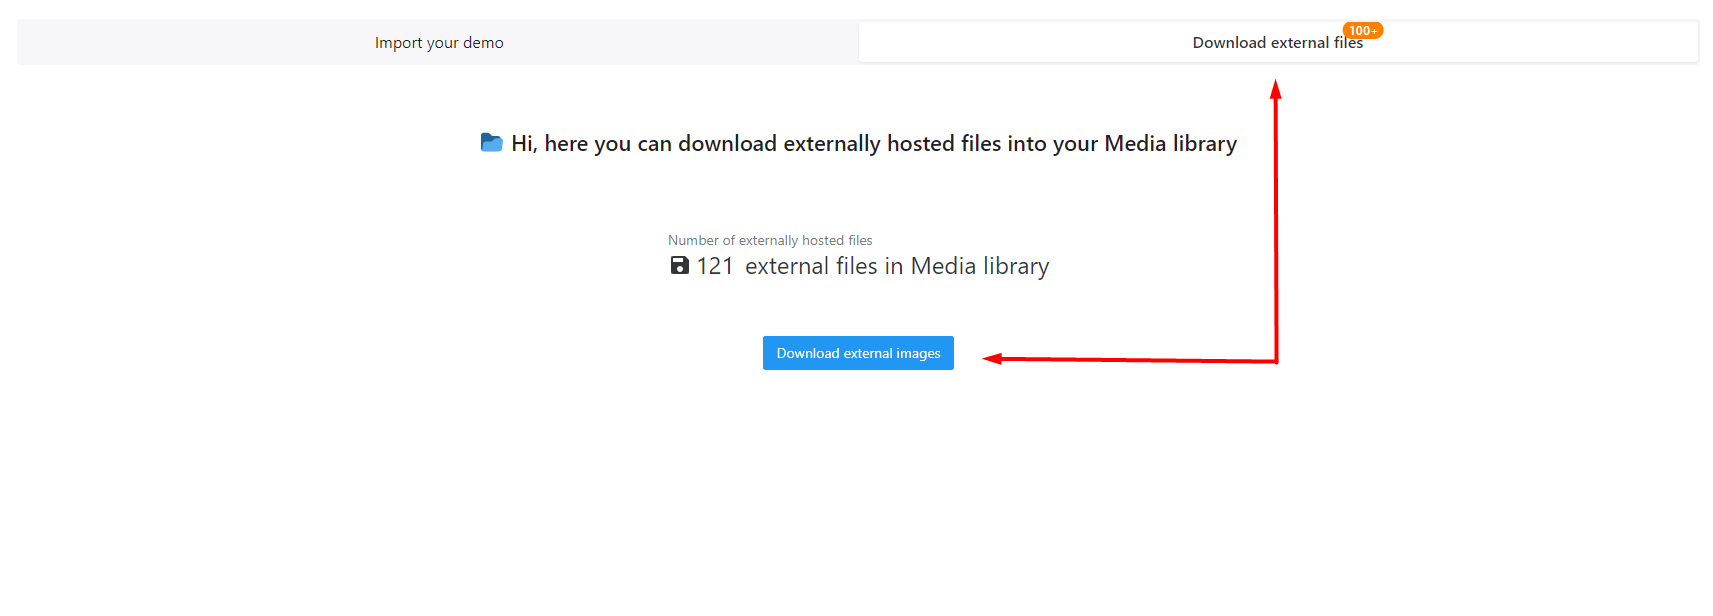
Additional step:
If you selected ‘Use images hosted on our servers‘ option, you will now see ‘Download external files‘ tab on your screen.
When you click on it, you will see how many images are left on our server, and you’ll be able to download them to your server.
Note that you don’t have to download all of them at once. You can start the process, download first few images, and then stop. When you go to download tab again, you can start the process again, and it will download only images that are left on our server.
If you installed WooCommerce plugin, go to WooCommerce >Settings panel and set its pages (Shop, Cart, etc.)
If you are getting 404 error on inner pages, go to Settings >Permalinks panel and click ‘Save changes’ button to flush the permalink structure.
That’s it, the demo is imported! :)
Please note that screenshot examples are from our 'Avantage' theme, but the steps are the same for all of them.